Reprinting the Mecanum wheels again for someone else but decided to improve the design somewhat. One of the most common questions by new users of the Up! 3D Printer is how to remove the raft. The raft is one of the love/hate things of the Up! printer, some people want to get rid of it without understand the importance of it. Some thoughts and tips on this ahead…
The raft is there for several more reasons than simply acting as support material. One of those is to cater for imperfect calibration of the nozzle vs platform height, as well as platform level. Can you figure out how?
Rather than complain about the raft, it is not too hard to design around it. One of the annoying things about assembling the original mecanum wheels was, you guessed it, removing the raft off the rollers.
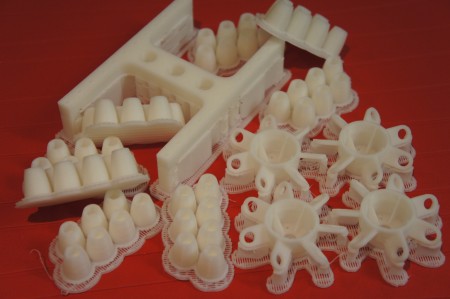
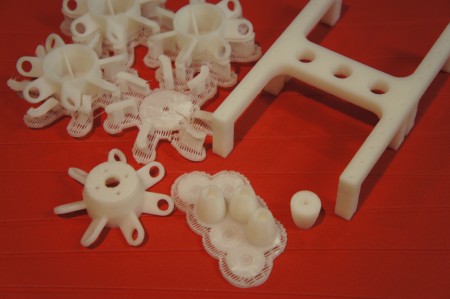
The raft/support material is VERY easily removed off curved surfaces. Large flat areas are also not a problem, but try to avoid sharp 90 degree features on the bottom of your models. Adding a 0.75mm 45° chamfer was all it took to get the rollers to snap off the raft easily! The wheel hub also had an recessed bottom (2mm deep x ~10mm radius) which originally served to fit the servo horn, but the raft was painful to remove from here. Fix? Remove the recess.
Another tip is to loosen the raft around the edges first, and then peel along the ‘grain’. Yup, if you look carefully the raft is laid out at diagonal probably 20 degrees to one of the print axis. Having a dense (4+) raft and peeling with the grain gives you greatest chance of removing the raft in one piece cleanly.
Probably should add a video showing this but experimenting yourself can’t hurt you. I deliberately added a photo where I was half-way removing the raft/support material on the various pieces. Oh can anyone guess why I would print that frame in the orientation I did? Rather than ‘flat’ on the bed and avoiding all that support material?


PS : I’ll upload to Thingiverse when I assemble it and make sure it all works nice 🙂
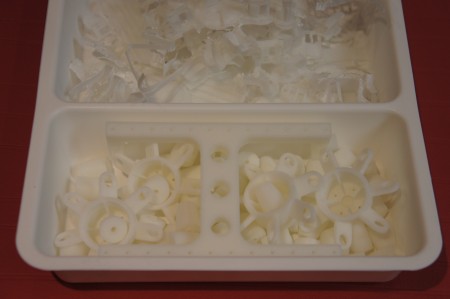
PPS : The red mat is from IKEA…not a bad background… the white tray is from IKEA and its around 600mm x 200mm… not bad for using as a tray for cleaning support material. Both $3 each!
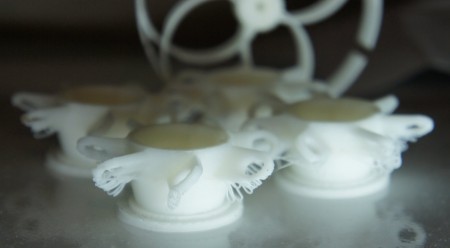
Oh I should have uploaded the photo where I printed the wheel hubs without supports…wait wait…going to the next room to take a pic!
Printed the frame with the raft because you wanted a smooth surface on that exposed side. If you had printed upside down, you would not have gotten a smooth surface.
Nope, the bottom surface that is in contact with the raft is usually smoother than the top. The edge interface usually looks prettier on the bottom too. [There sometimes can be a gap with the outer layer and the inner filling on the top]
Im Werner
sorry i have a Question? Who is the size of this mecanum wheel?
Can i by from you?