This is a project sneak peek at the LED lamp I am making. This post is really an excuse to post some random pics and videos, and a way for me to procrastinate and not actually finish the darn thing.
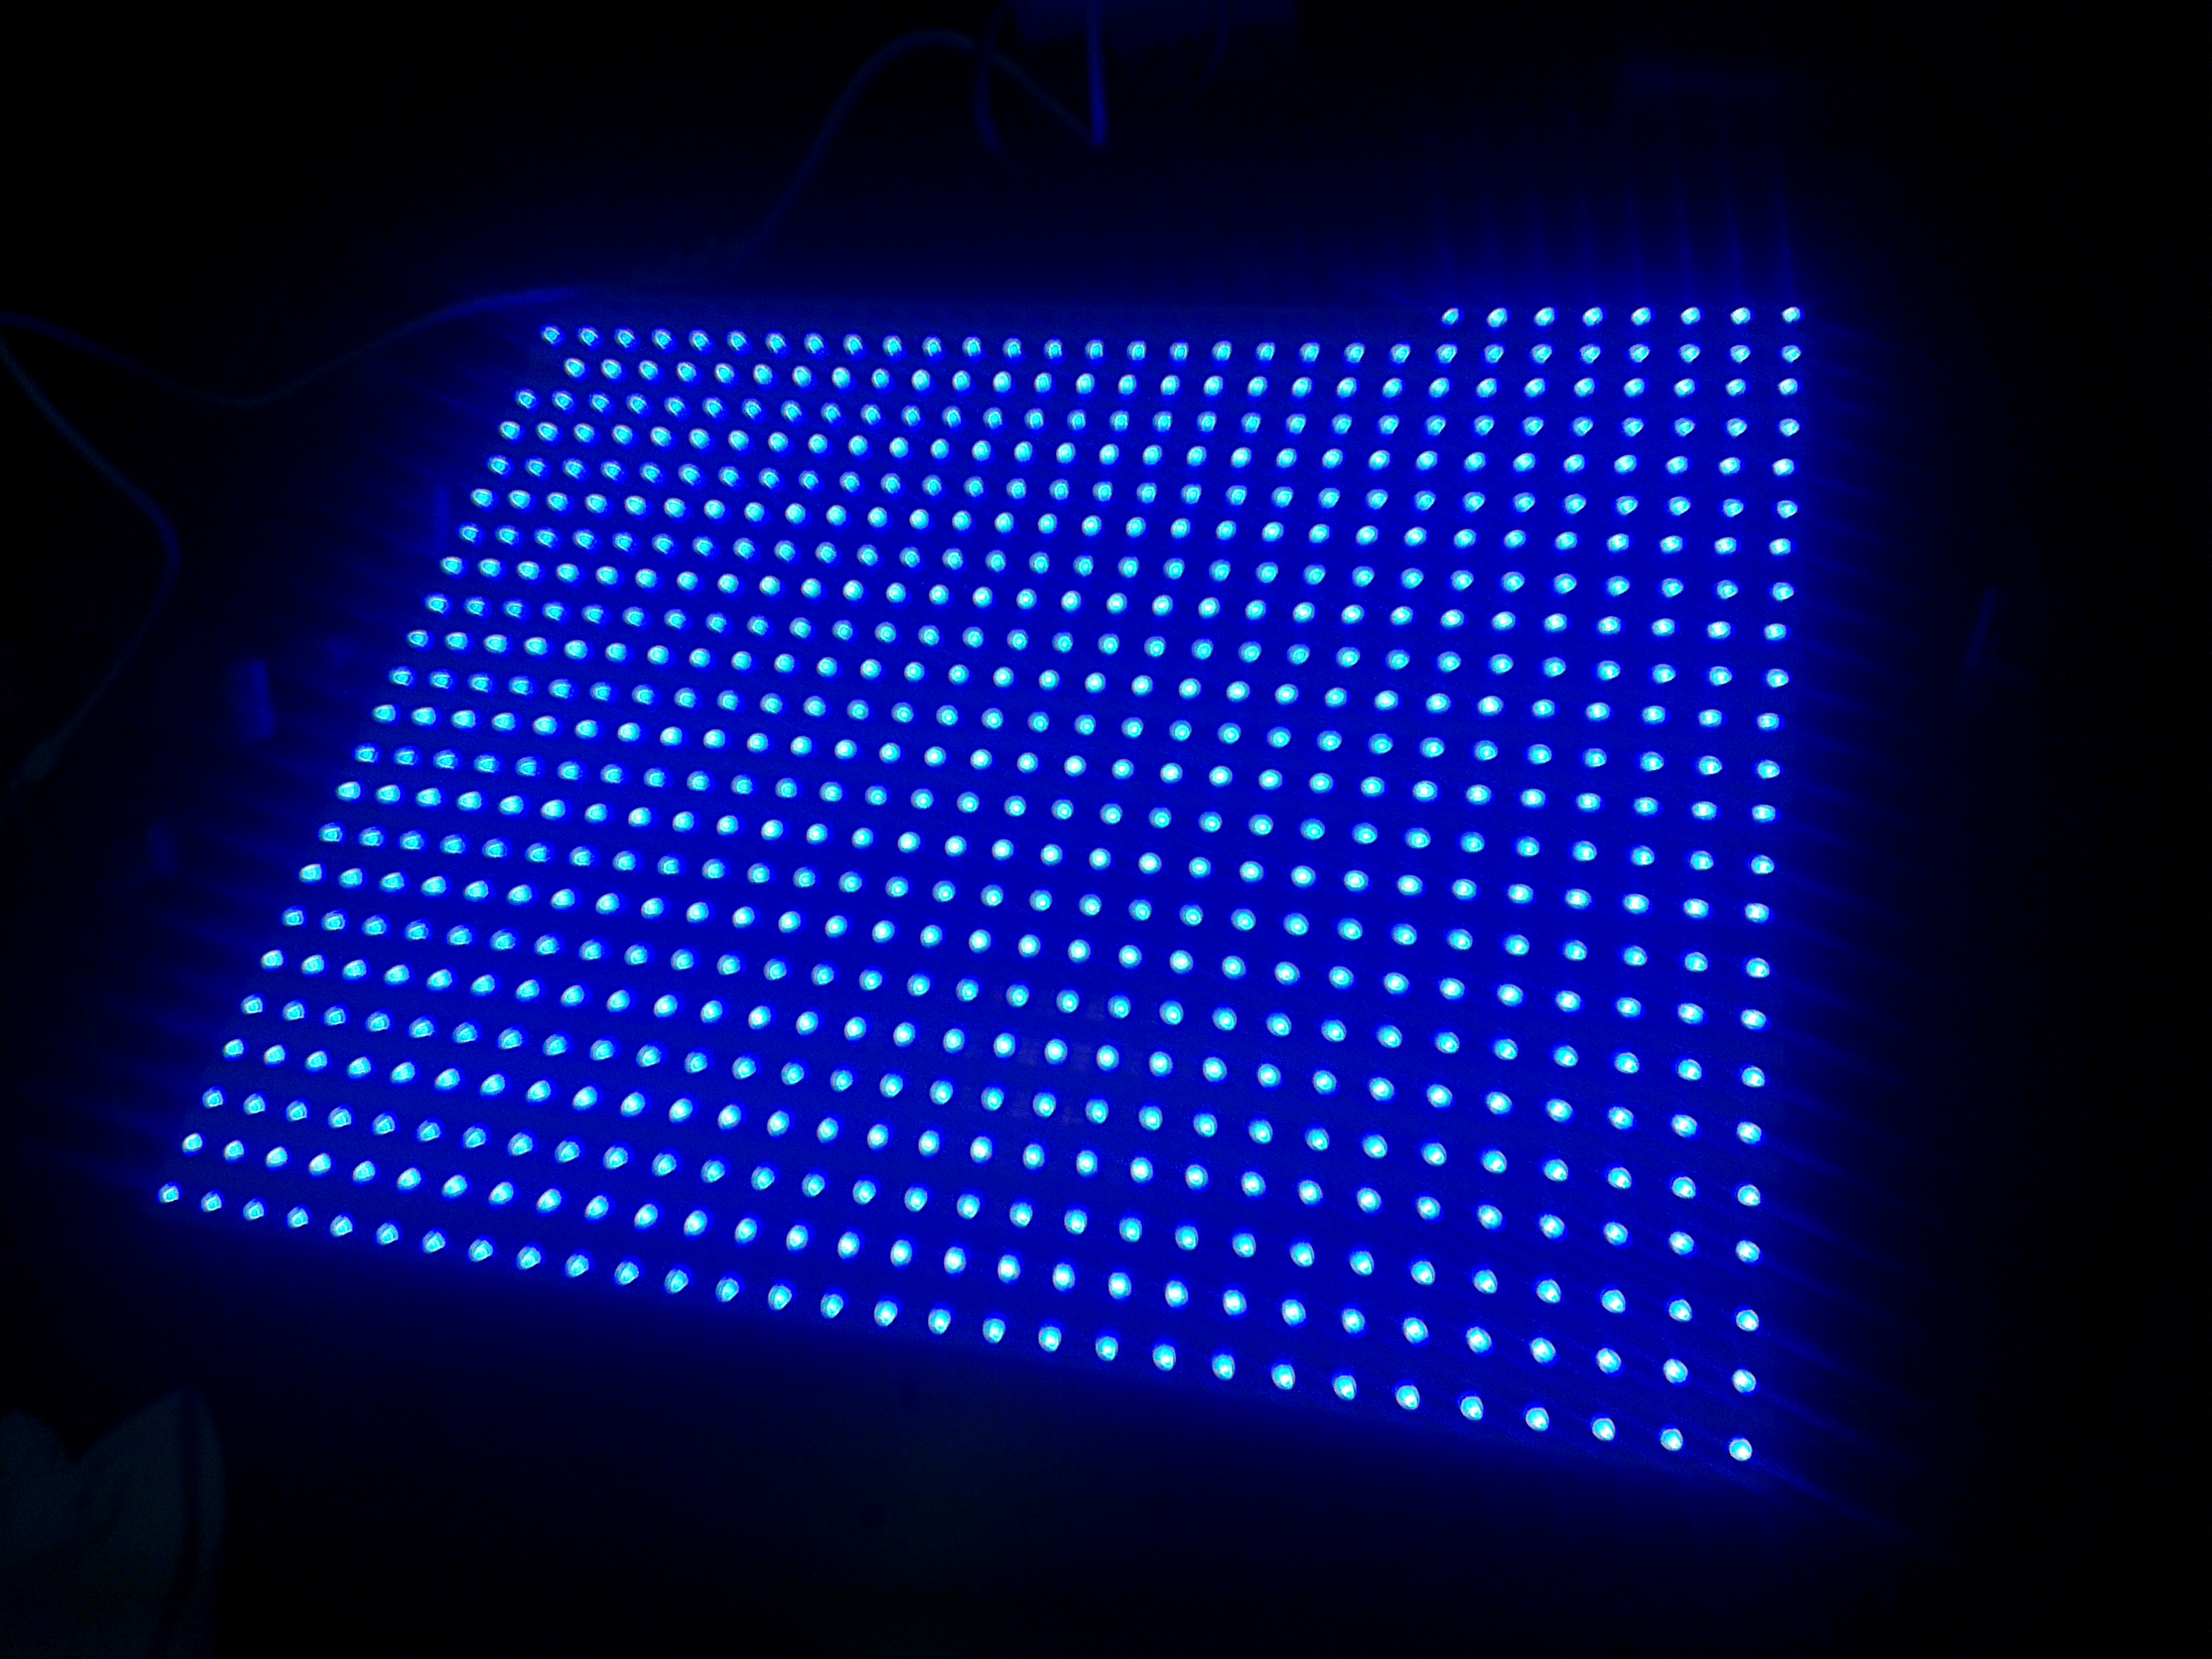
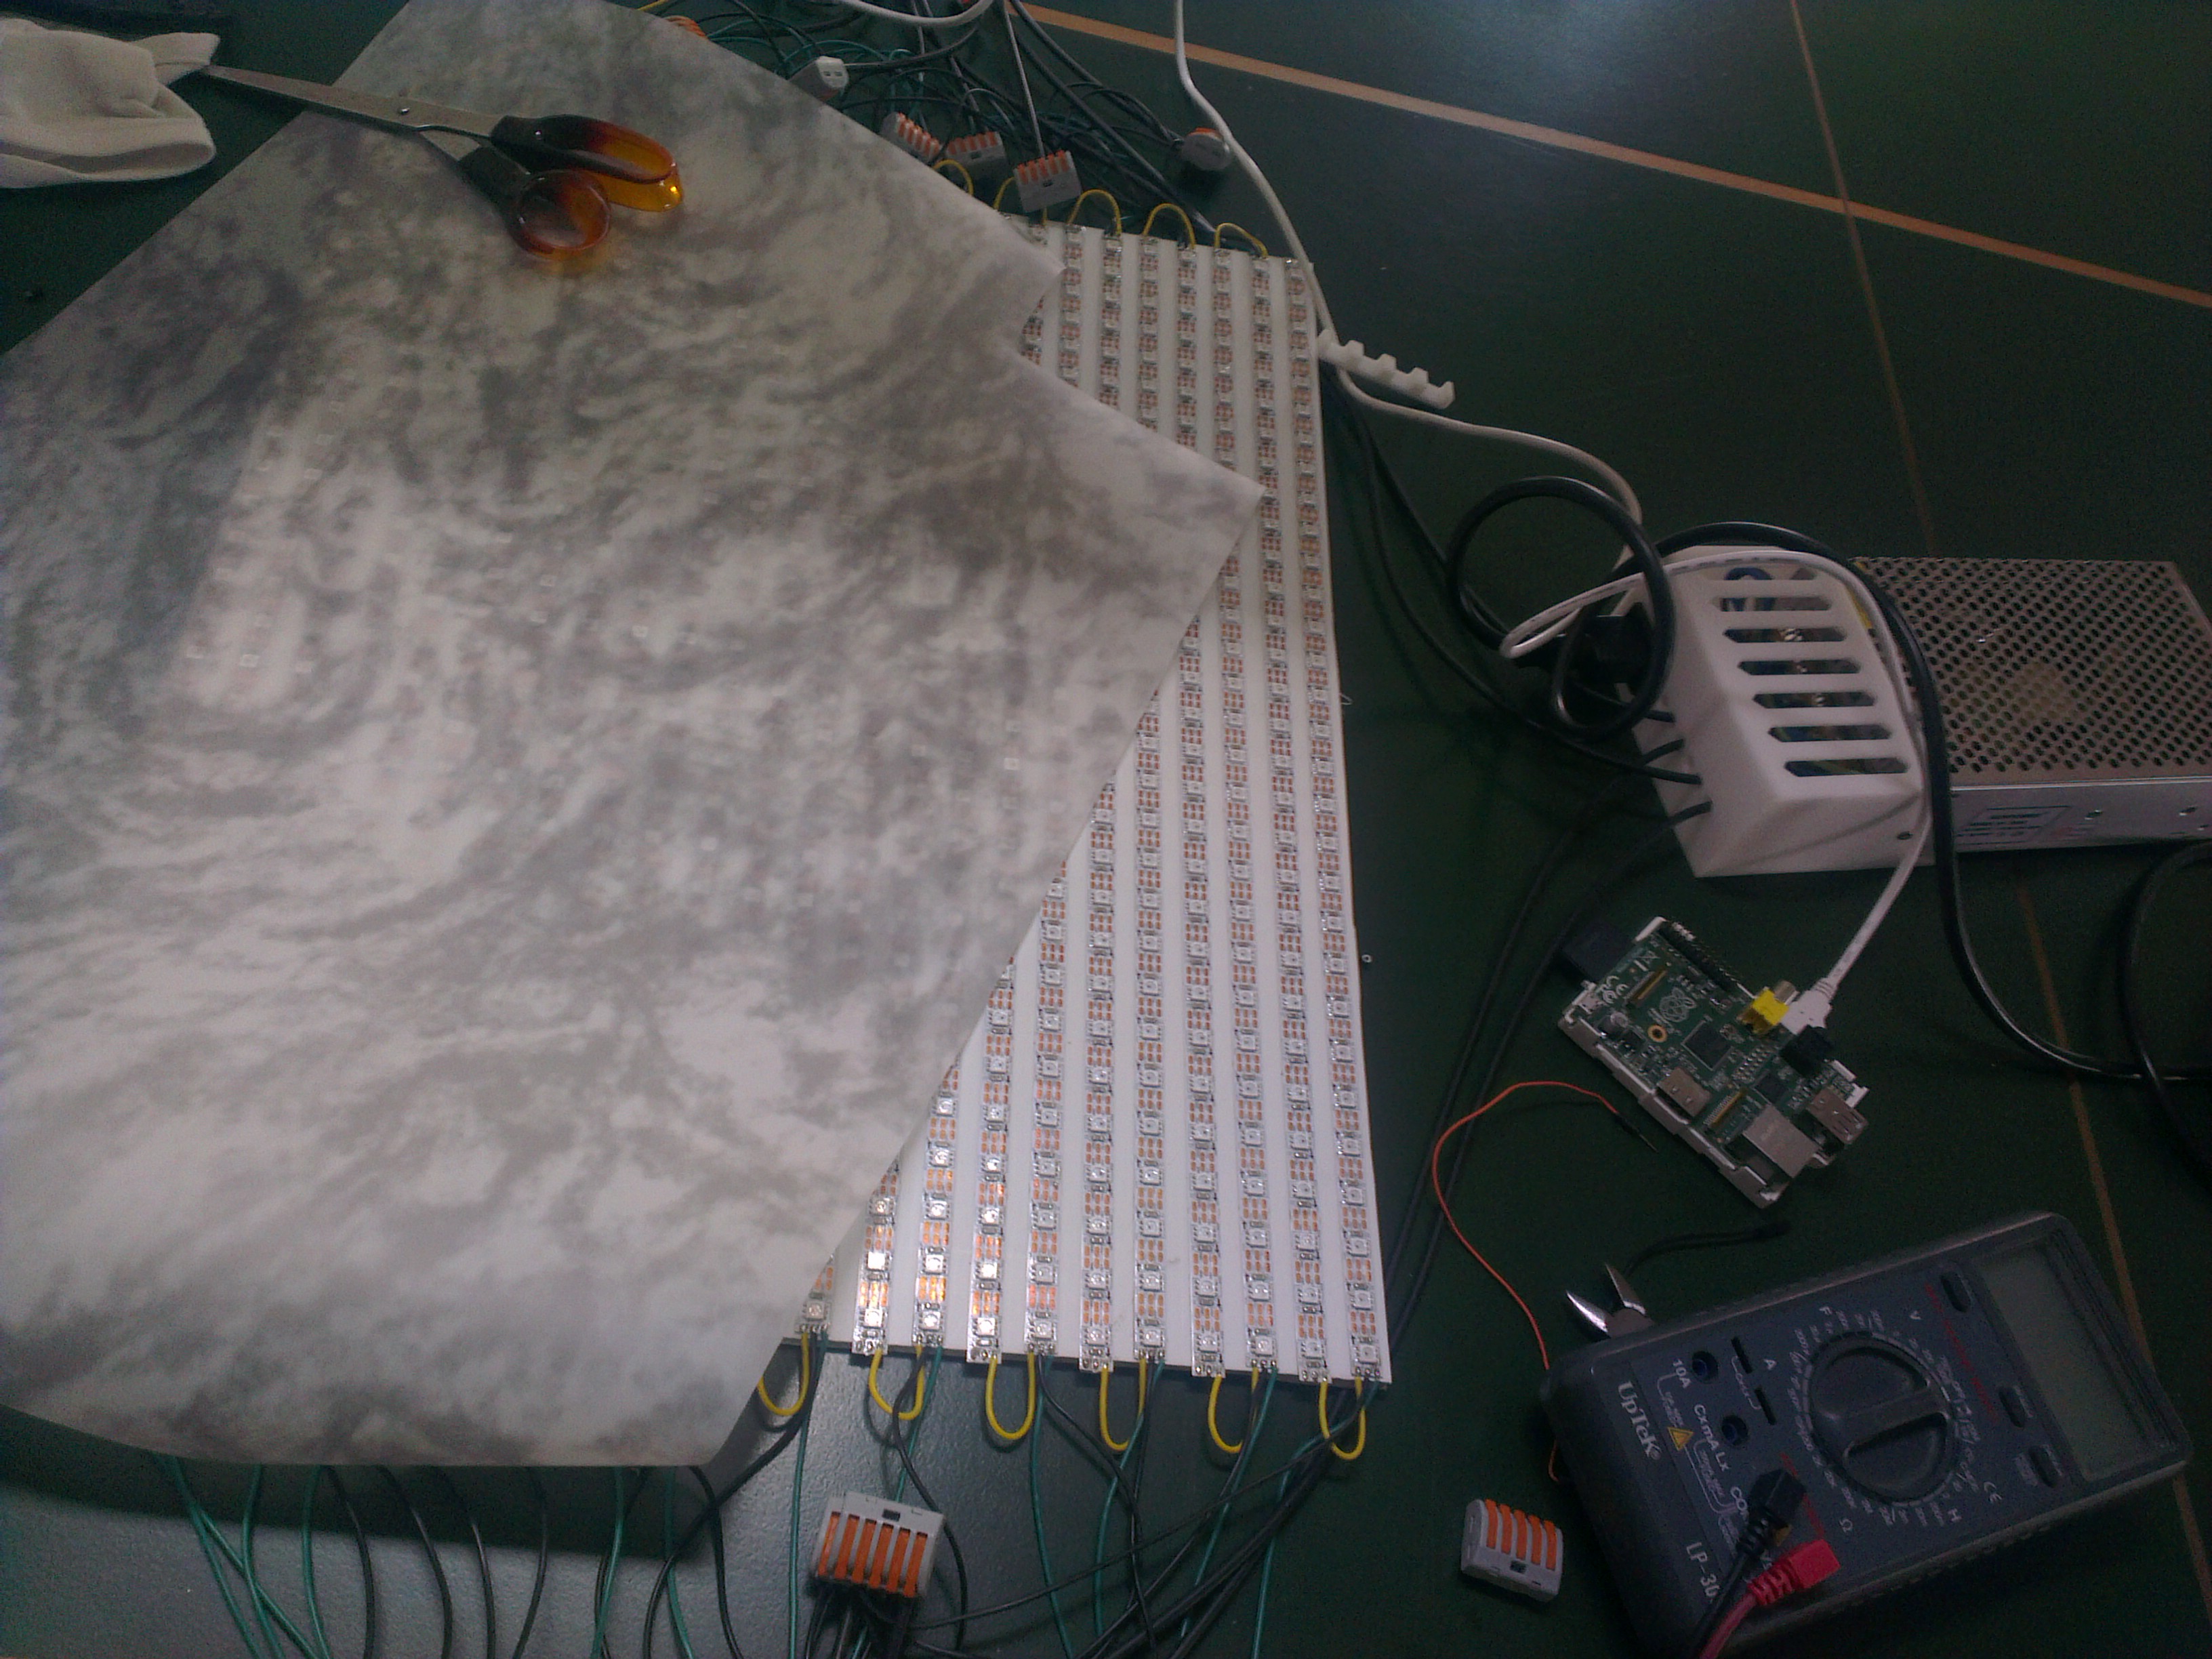
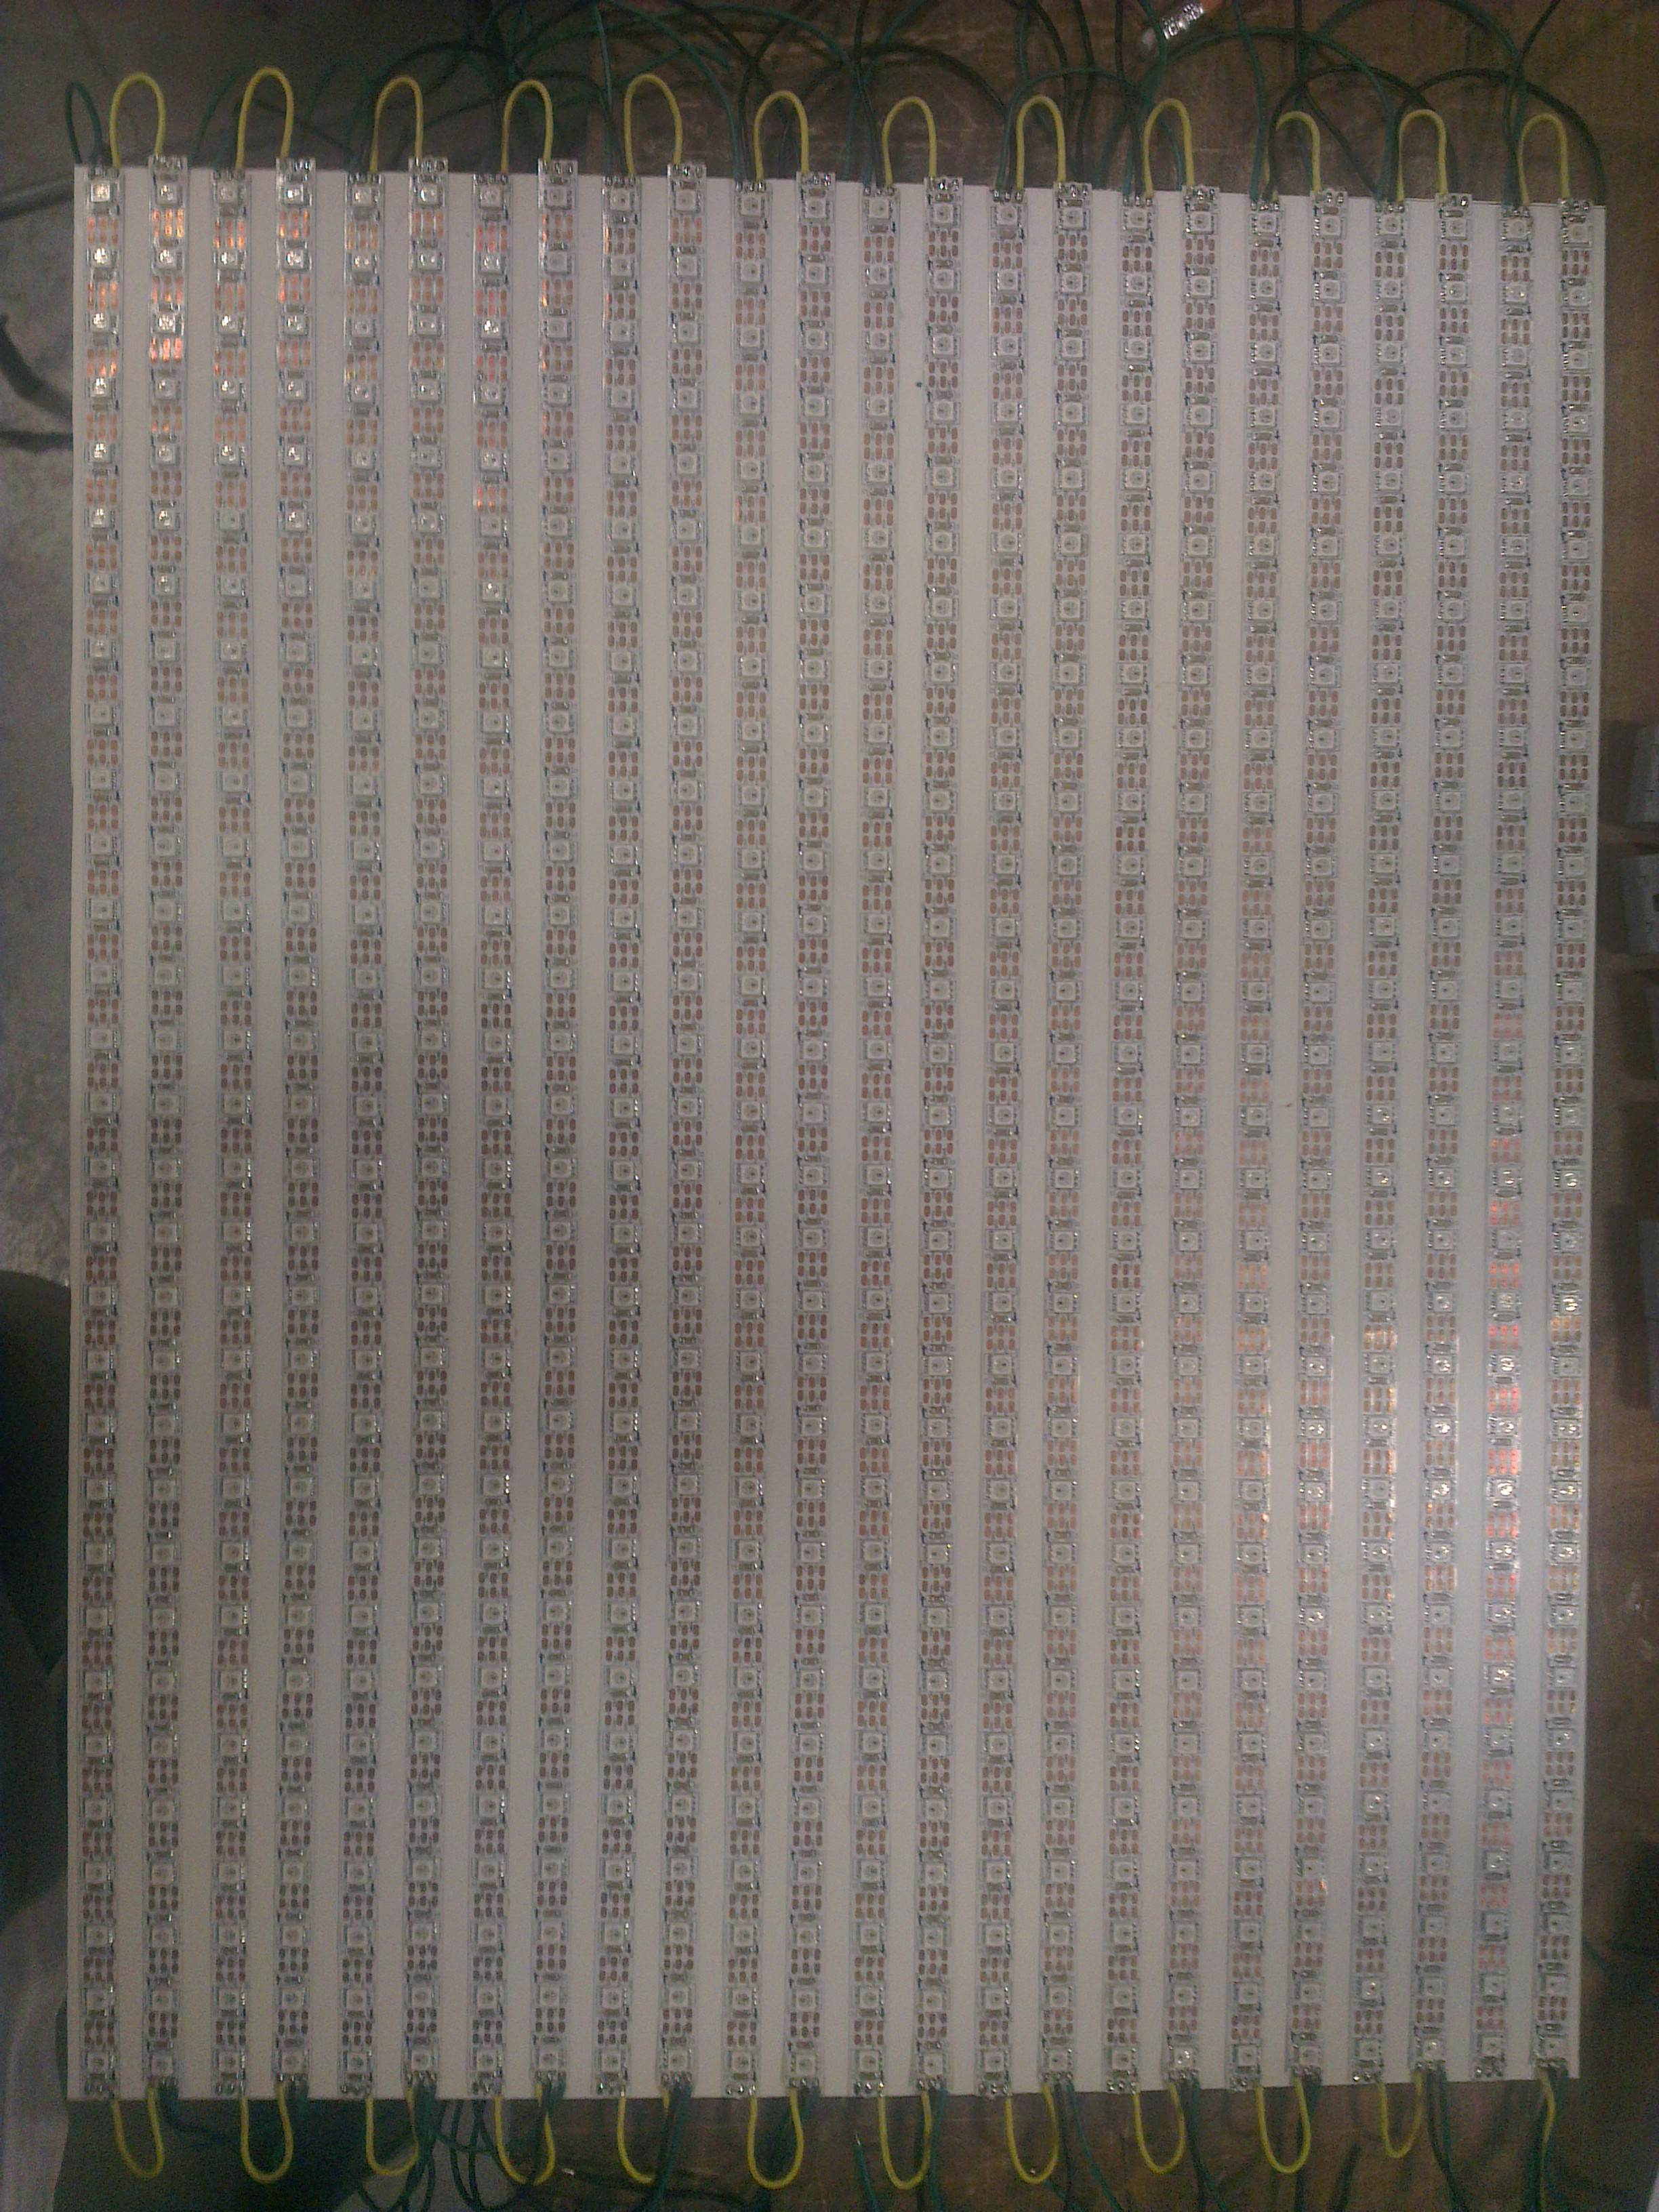
The project is a LED lamp that will be mounted on the wall. It comprises of 24 LED Strips of 30 LEDs each of which has an integrated WS2811 controller chip that enables individual addressing and 24bit RGB colour. The strips are driven by a Teensy 3.0, which then subsequently interfaces with a controller board that will do most of the processing. I hope to have it run games (e.g. Tetris) as well as turn on automatically at night, display the time and temperature and do some other random stuff.
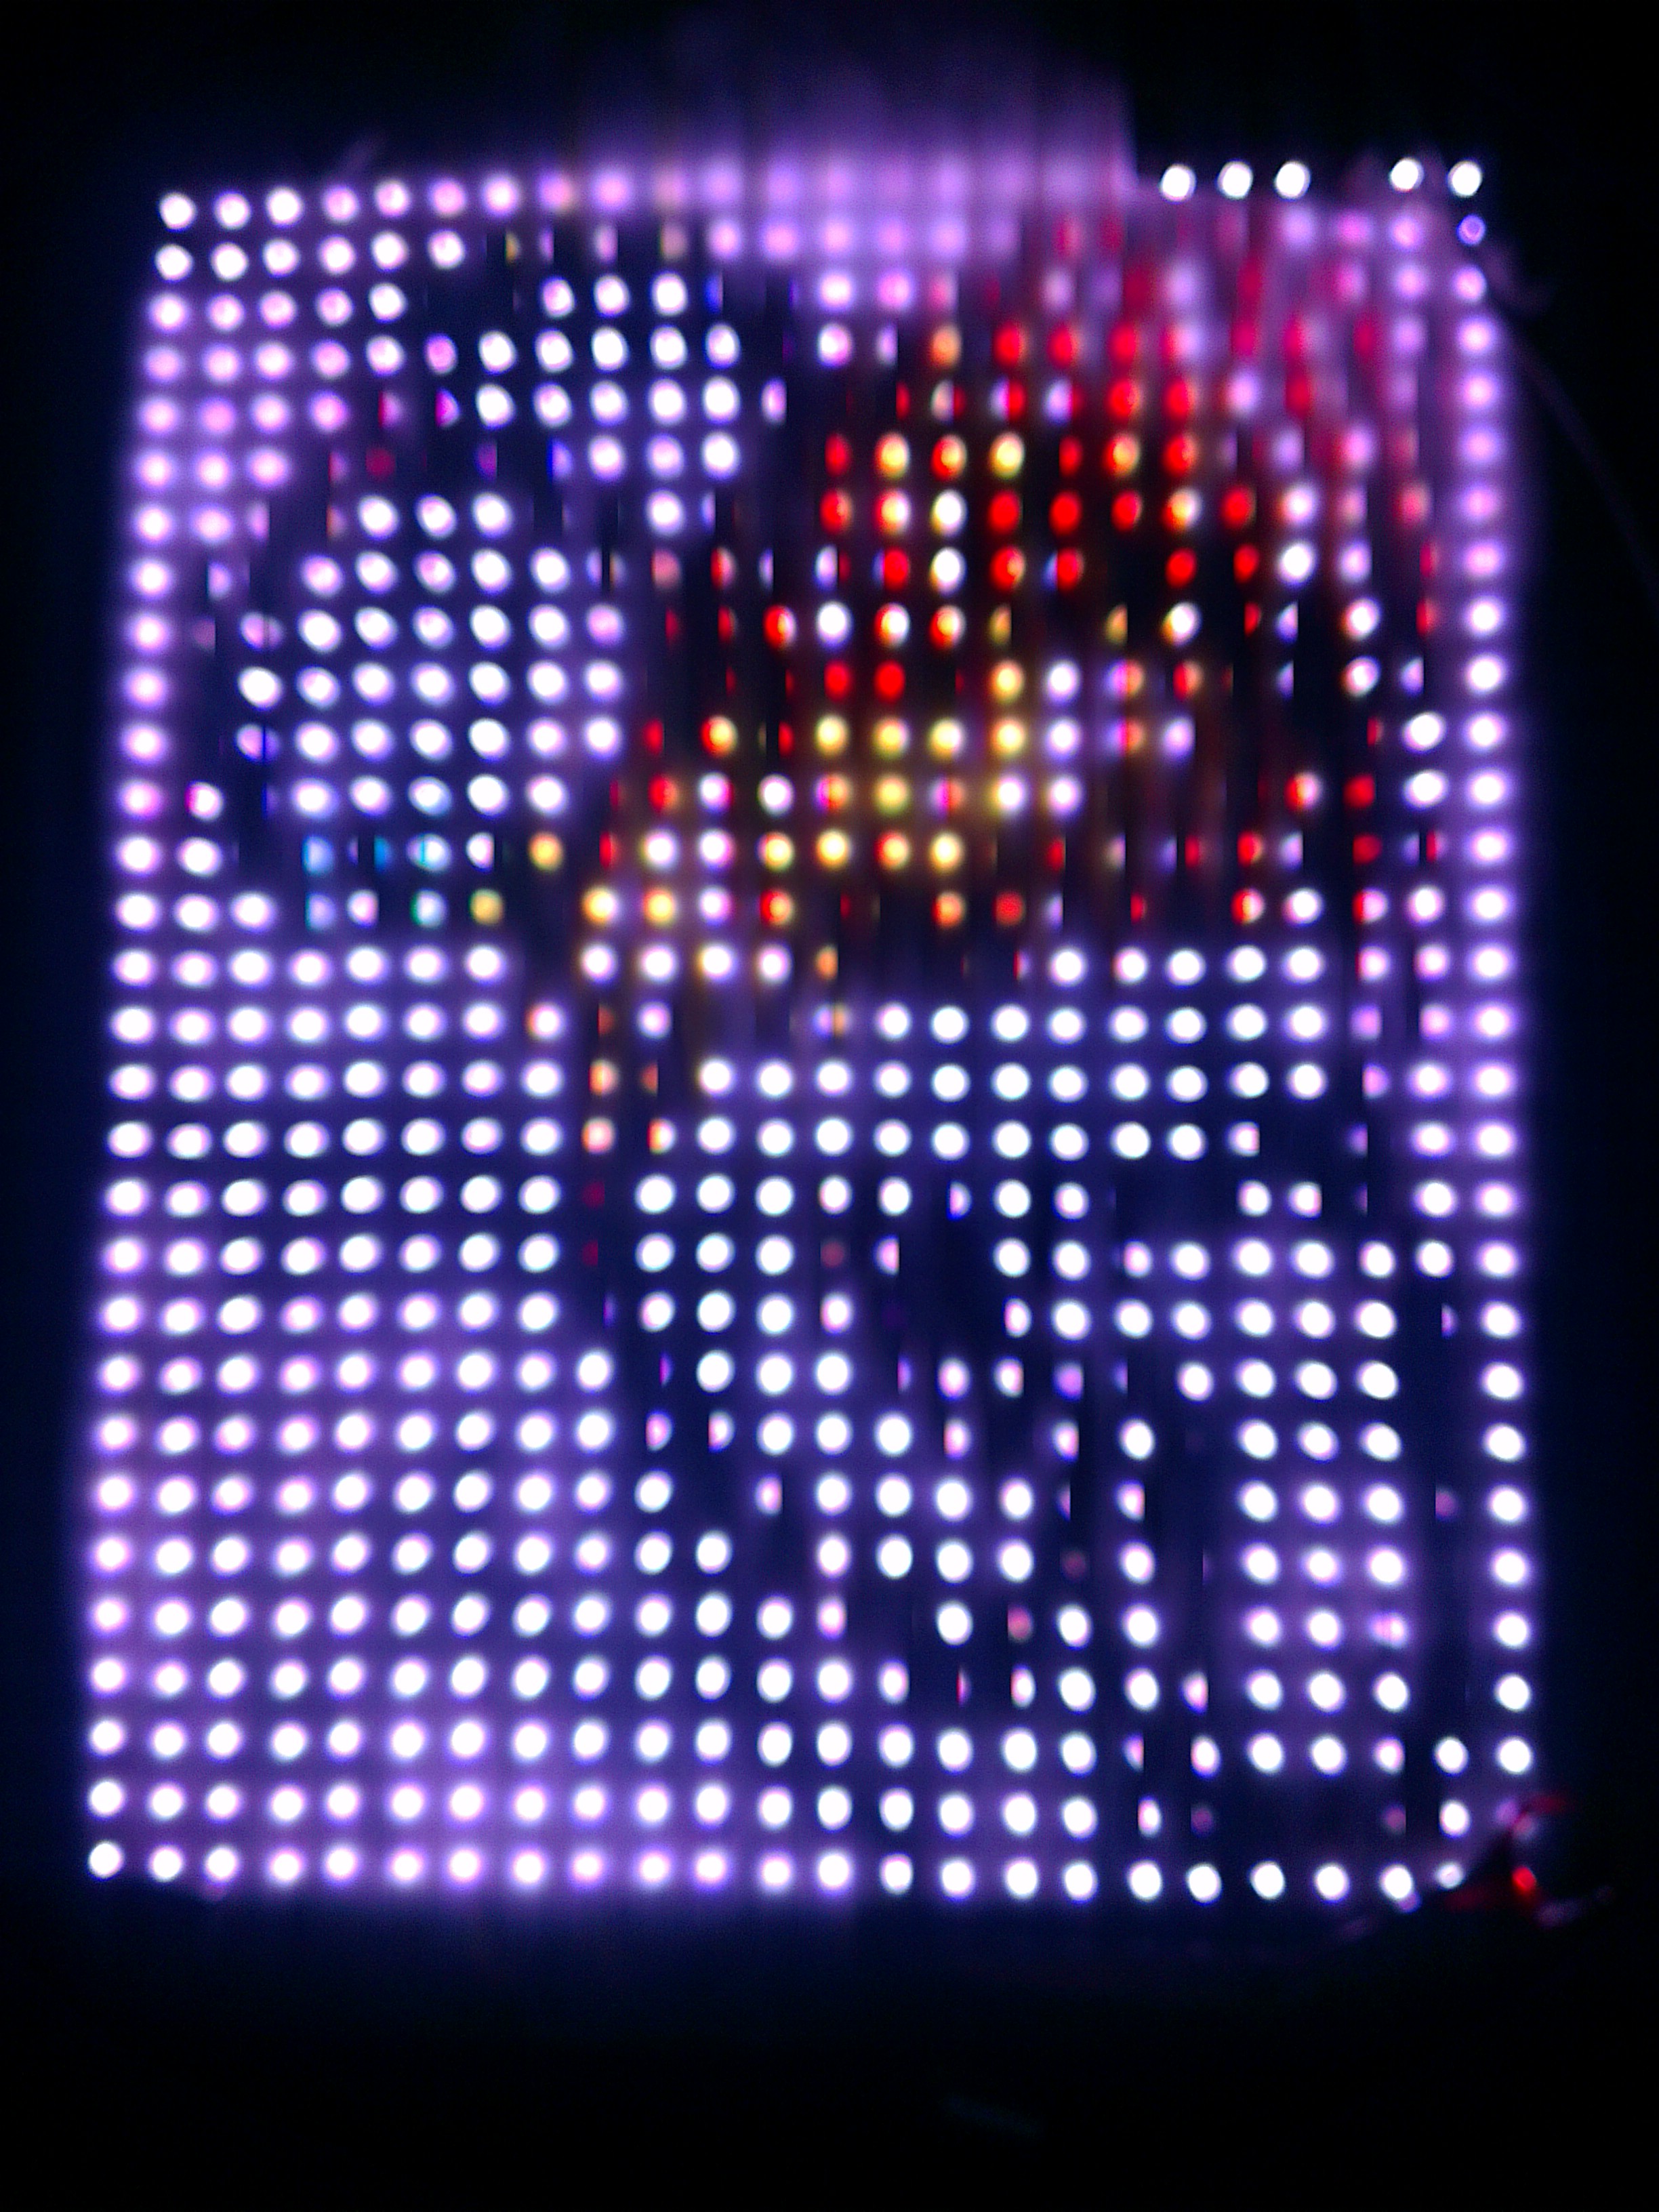
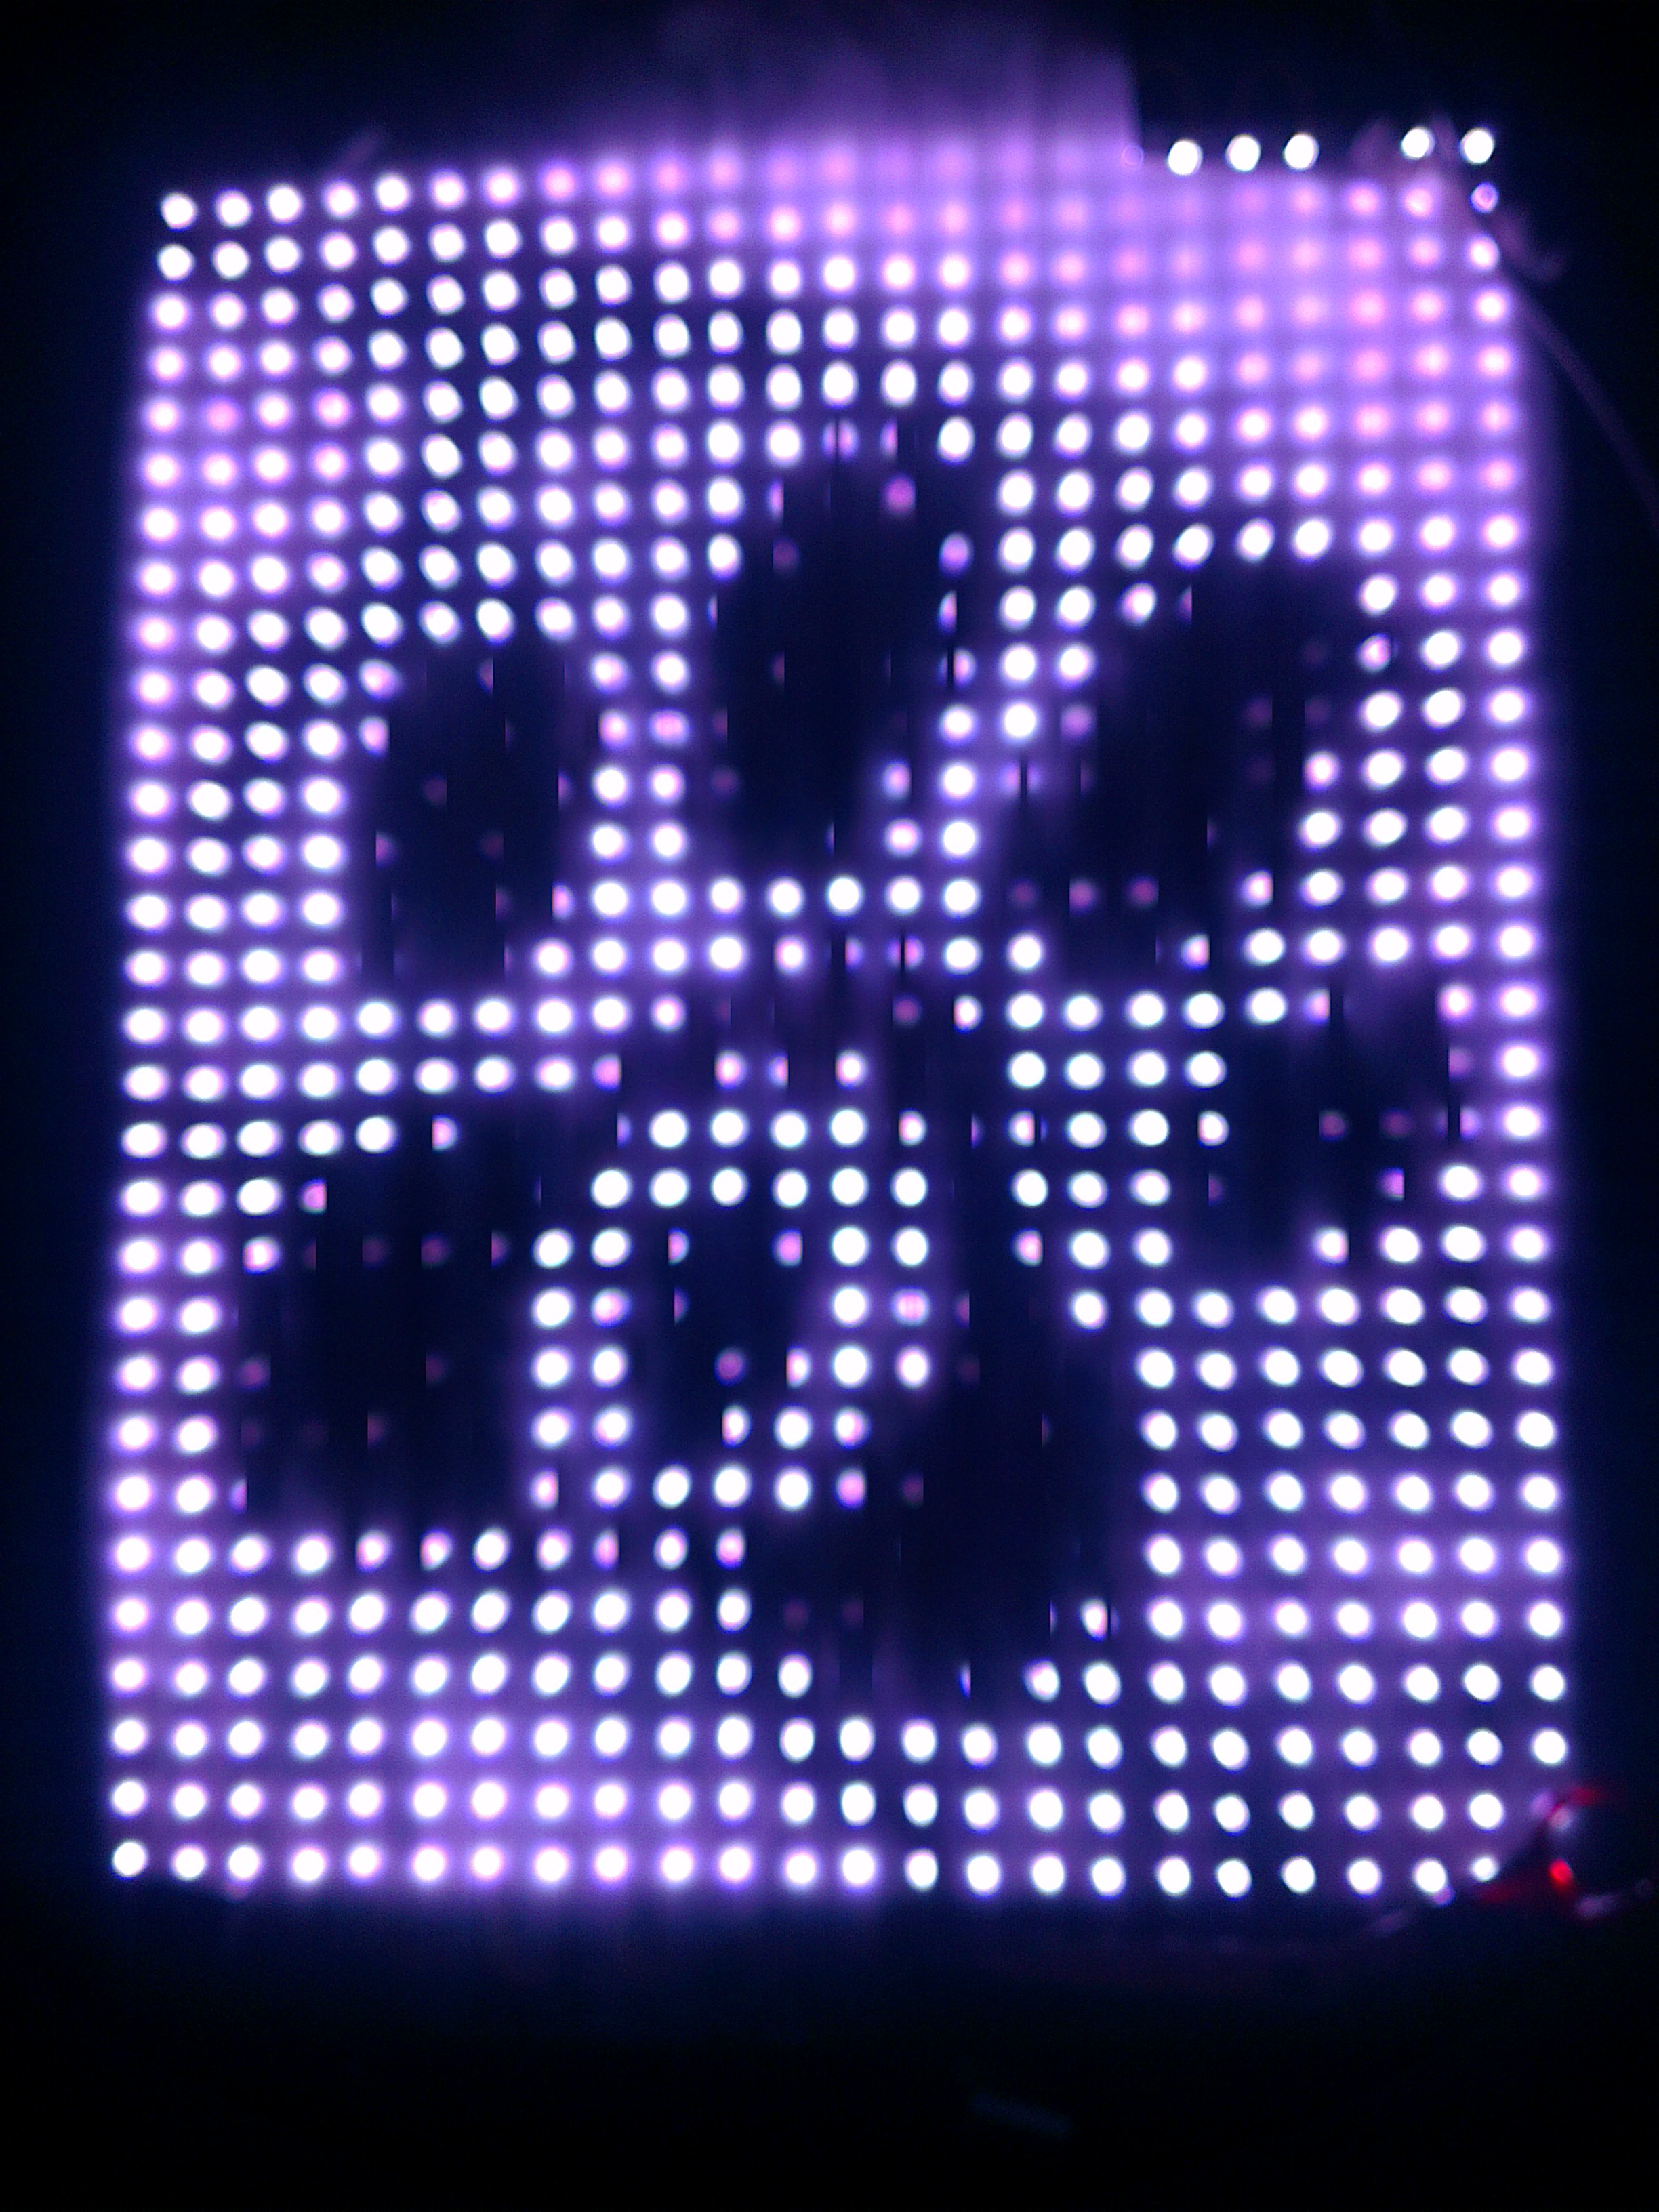
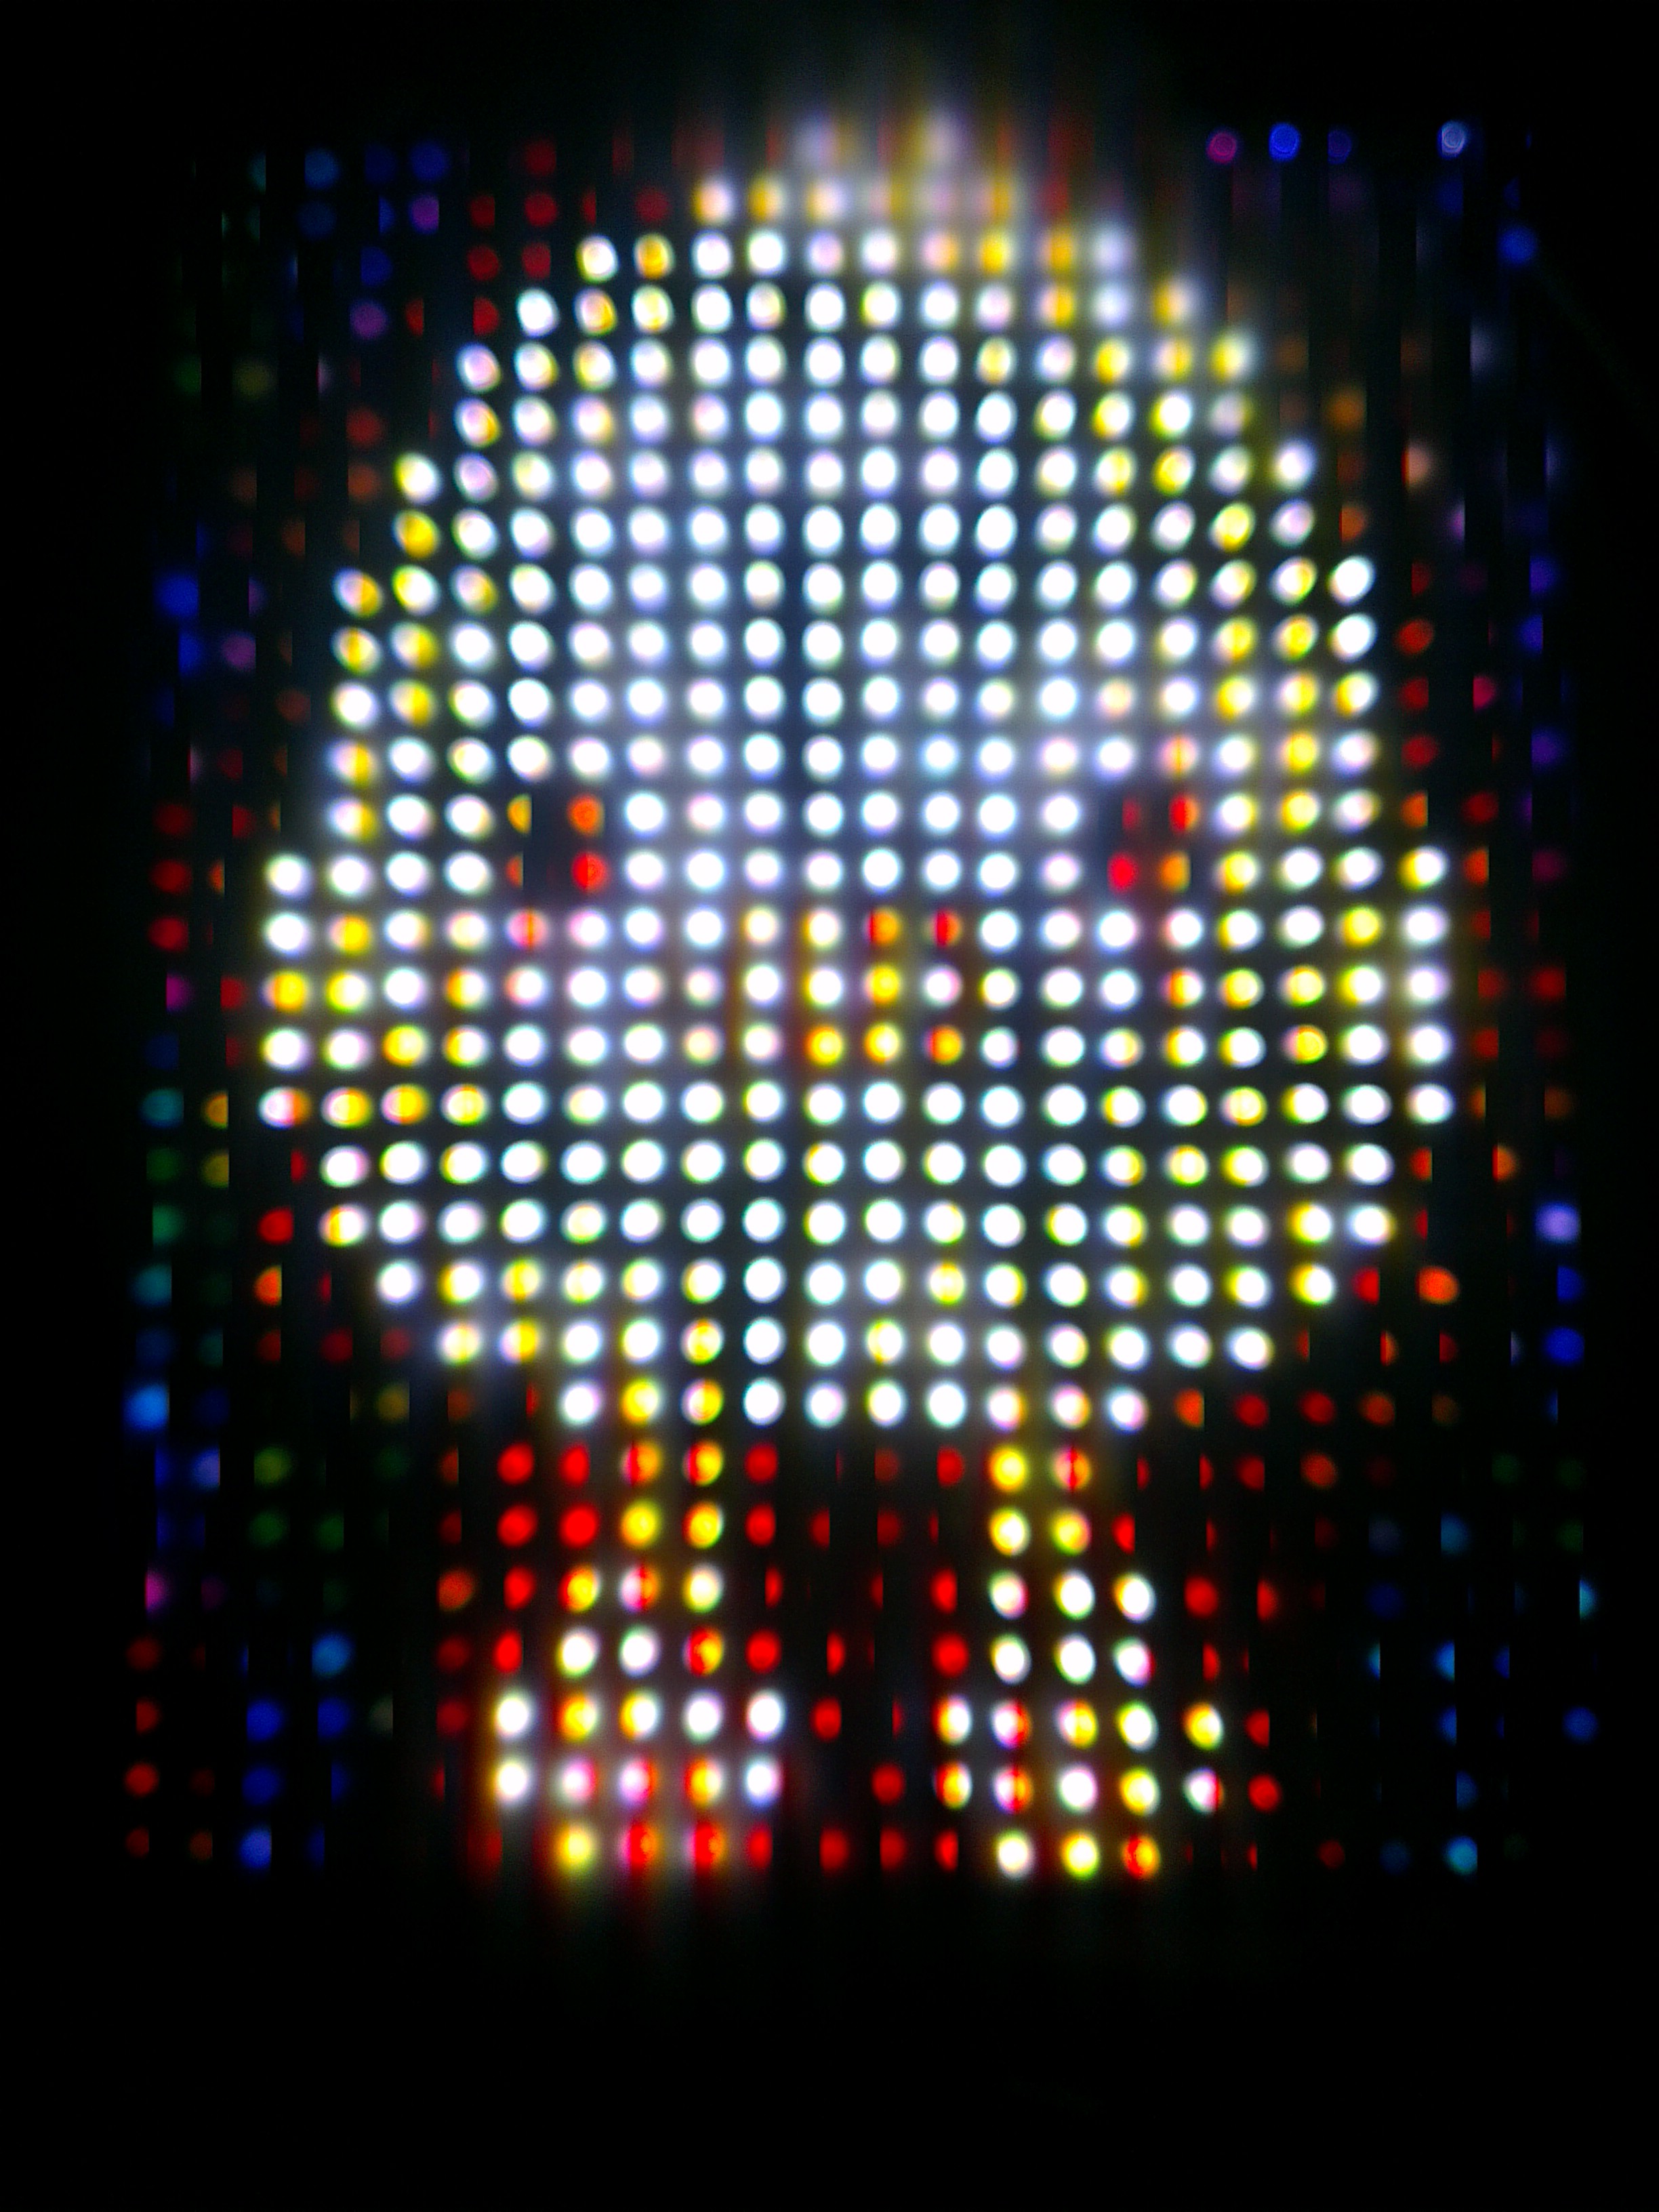
Below is a video testing the display with Tetris…I haven’t drawn the border etc…and the pixels look fugly because it isn’t finished 🙂
The test setup is so crude, I just used scrap washi paper and dumped it directly on-top of the LED array.
I’m still debating on what I should use as a controller for the games. Waiting on a “DDR mat” from eBay to arrive so I could test that, but I would appreciate any novel ideas people can suggest!
Some more pics after the break 🙂

Hey, I was just wondering if you had any code available at all for the project. It looks great btw
I have code but it is quite messy 🙂 I’ll post all code when I’m done. Or was there a specific portion you need help with?
Yes please share the code, I’m interested in driving these WS2811 chips but haven’t gotten around to writing the assembly… it would be nice to not have to do that part.
What chip do you plan to use?
Teensy/Arduino etc all have libraries already to drive the WS2811. There are novel SPI/USART/USI methods but …
Ah I see, you used the Teensy 3.0 to talk to the chips, but you communicate the frames to the Teensy over USB. Possibly that’s from the Raspberry Pi based on the pictures. Is that correct?
Neat… I did sort of the same thing for my halloween costume, but I didn’t have nearly as many LEDs as you have.. I cut out some paper to make little rows and columns so the light wouldn’t bleed through and I used some material to diffuse the light a bit. here is a really bad video I made while It was still a work in progress.. like you I also used a teensy 3.0 to drive it.. cool project!
http://www.youtube.com/watch?v=Nr69BbpRrV0
Very nice 🙂 I had 3D printed parts to separate and paper to diffuse which comes out to be a similar effect to yours. I’m hoping to laser cut my parts this time…must stop procrastinating and design the housing!
I’ve wanted to do the same thing to make nicer rows, but I really have no CAD or construction skills… looking forward to seeing what you come up with.. 🙂
Hi, very cool project. I have a couple questions.
1) Did you find a good source for these strips? I’ve had a hard time finding the ones with the integrated WS2811?
2) Can you explain or post a little code showing how you address the individual SMD5050s when they are strung together? I haven’t found too many explanation on line unless I’m Googling for the wrong info.
Thanks for any information. Great project and looking forward to more updates.
1)I bought mine from http://www.aliexpress.com/snapshot/208341398.html [Snapshot of my order].
Works out to be $14/m delivered to Australia, presumably cheaper to US etc.
2)I am using the “FastSPI” library – they have an example code on there on running the LEDs. Each ‘pixel’ is 3 bytes of RGB (might be in GRB or BRG order…), and you simply clock out 3 bytes of data per pixel and wait for a settle time and the chips will latch and output the data.
I just set up a guy at the local hackerspace to run the strip in 2 minutes flat with a 16Mhz Arduino, use the “TM1809” setting on the FastSPI library.
There is a little thread here :-
http://forum.pjrc.com/threads/15620-WS2811-on-Teensy-3-0-using-FastSPI_LED-library?p=19248#post19248
Thanks so much for the reply. This is great info!
How much does it cost to make a display like yours? Really cool too.
I noticed you said you bought the strips from aliexpress.com. Do the ones you linked to have individually addressable pixels?
Goodmorning Sir,
Can you pls help me how to make this kind of project? I really wanna have 1.. and how much is the total costing for this kind of project. Thank you. Sir, Kindly leave you email address so that I’ll can contact you.. Thank you very much!! Your answer will be so much appreciated..
Hi Marina,
The LED strips are around $13-15 a meter, I’m using 24 * 0.5m (12m) so it is around $150 for the LEDs. The power supply is around $25, and the Teensy that controls it is $20. So around $200 for the set-up I have now, not including the case and housing that will be required.
You can E-mail me if you want using Madox as the username, and this website’s domain name as the rest of the address 🙂
Hey Madox,
I am doing a similar project and am using the teensy 3.0 to display static images (smileyface, etc) on a 24×21 ws2811 display. Using octoWS2811 I can display the test animations but cant figure out how to make my own. Did you have a good way of rendering images for the grid? Could you post your code? I see you had intentions too originally, but I cannot seem to find it.
Thanks
Hi Madox,
I’m very interesting by this projet and I would like to study it in order to build a project for my students.
A mix of Pygame and python with raspeberry is nice for a projet.
Would you mind to post a link to let us to download all code (teensy, python, pygame) event if it’s messy.
Thanks in advance.
Pascal from France.
Hi Madox,
As always, very nice job.
I would like to know if you can provide your code because I would like to build a project with my students : RPi and Python are needed.
I’am steel using your work for driving one robot with your Python class using Ti EZ430.
Thanks in advance and Hello from France.